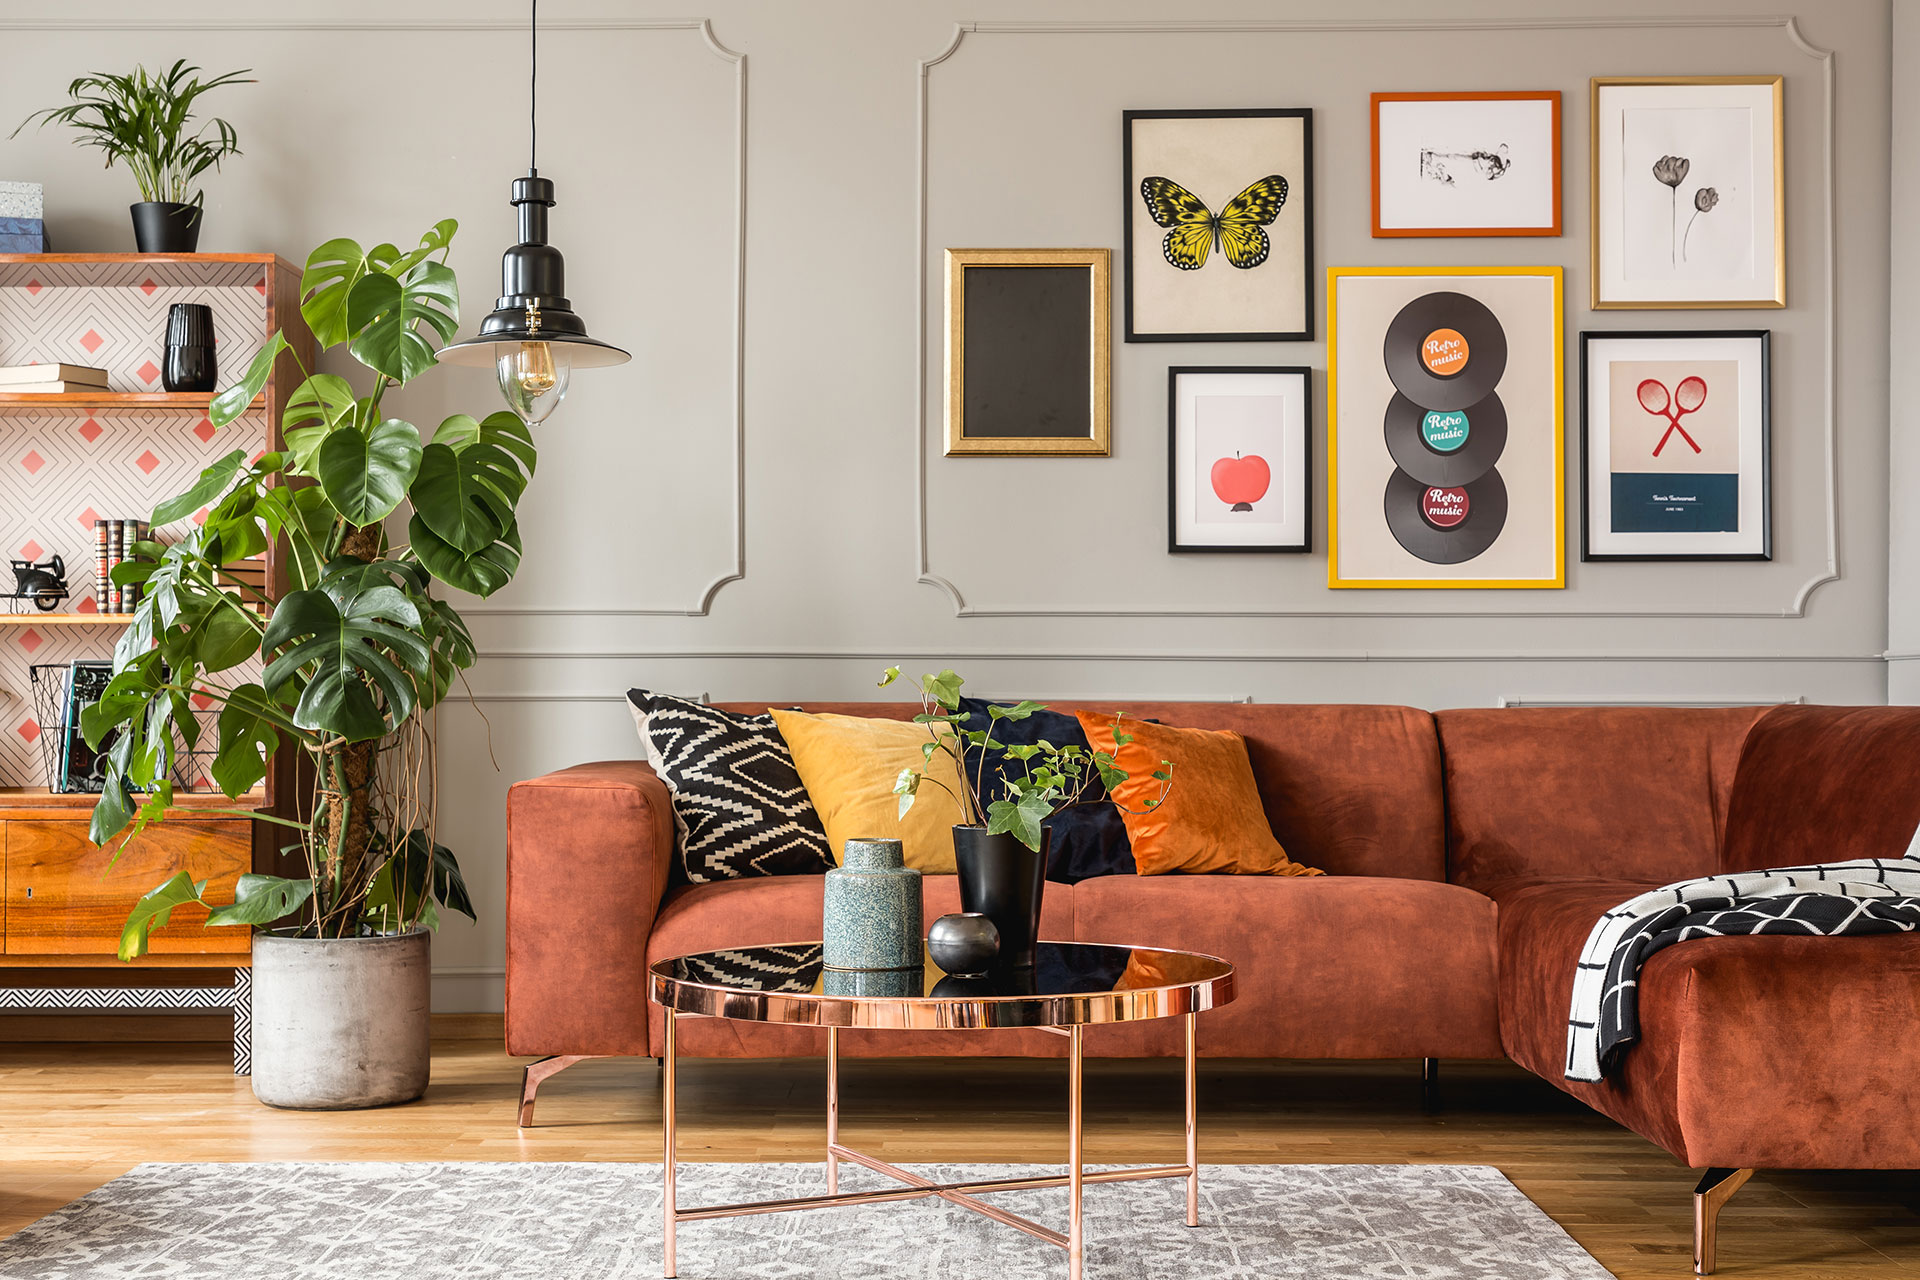
DIY Christmas home decor sounds simple until you’re standing in your living room in early December, surrounded by things that don’t quite go together, wondering why it looks nothing like what you had in your head. I’ve been there.
And honestly?
So has almost every homeowner I’ve ever spoken to who actually cares about how their home feels during the holidays, not just how fast it gets done.
Here’s what years of decorating on a real budget have taught me: the homes that look expensive at Christmas don’t have more stuff. They have fewer pieces, made with intention, that actually belong in the space.
So in this article I’m sharing 9 DIY Christmas decor ideas that look genuinely expensive, with exactly what you need for each one, how to make it, and how to style it so it looks finished rather than homemade.
Why DIY Christmas Home Decor Hits Different Than Anything You Can Buy
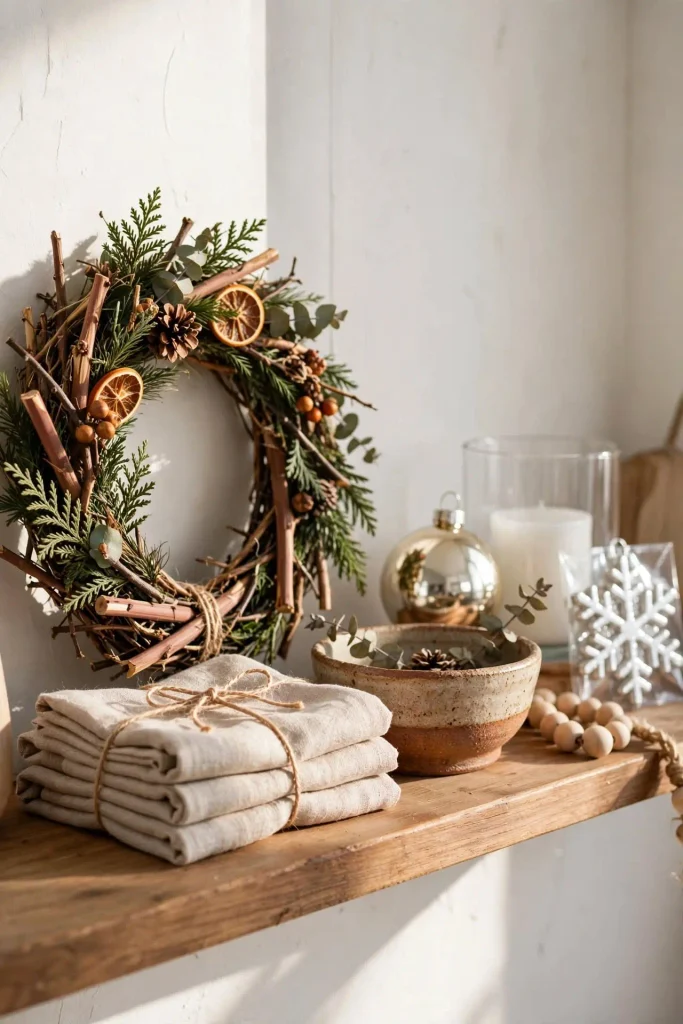
There’s a reason store-bought decor never quite lands the way you imagine it will in the cart.
It’s made to appeal to everyone, which means it ends up feeling like no one in particular actually lives there. I learned this the hard way after a few seasons in a row of spending real money on matching sets and still feeling like my home looked like a hotel lobby. Polished, but cold.
Sound familiar? Most homeowners I talk to say the same thing. They spend somewhere around $80 to $150 on pre-made pieces and still feel like something’s missing. The issue isn’t budget. It’s that nothing was designed with their specific space in mind.
That’s where DIY Christmas home decor earns its edge. You’re not working from someone else’s template. You’re building around the textures you already gravitate toward, the colors that already show up in your rooms, and the little details that make a space feel lived-in. Even a simple wreath pulled together from foraged branches and leftover ribbon carries a warmth that mass-produced pieces just can’t fake. That’s not sentiment talking. That’s how rooms feel when the things in them actually belong there.
Plan Your Decor Before You Touch a Single Craft Supply
Most people skip this part entirely. They see a pretty wreath on Pinterest, buy the supplies, and wonder two hours later why it looks nothing like the photo.
Planning takes maybe thirty minutes, and it saves you from that exact spiral. Here’s what I actually do before I make anything.
Look at what’s already working. I walk through every room I want to decorate and ask one question: what’s already in here that I love? Not what’s missing. What’s already working. That one question changed how I decorate.
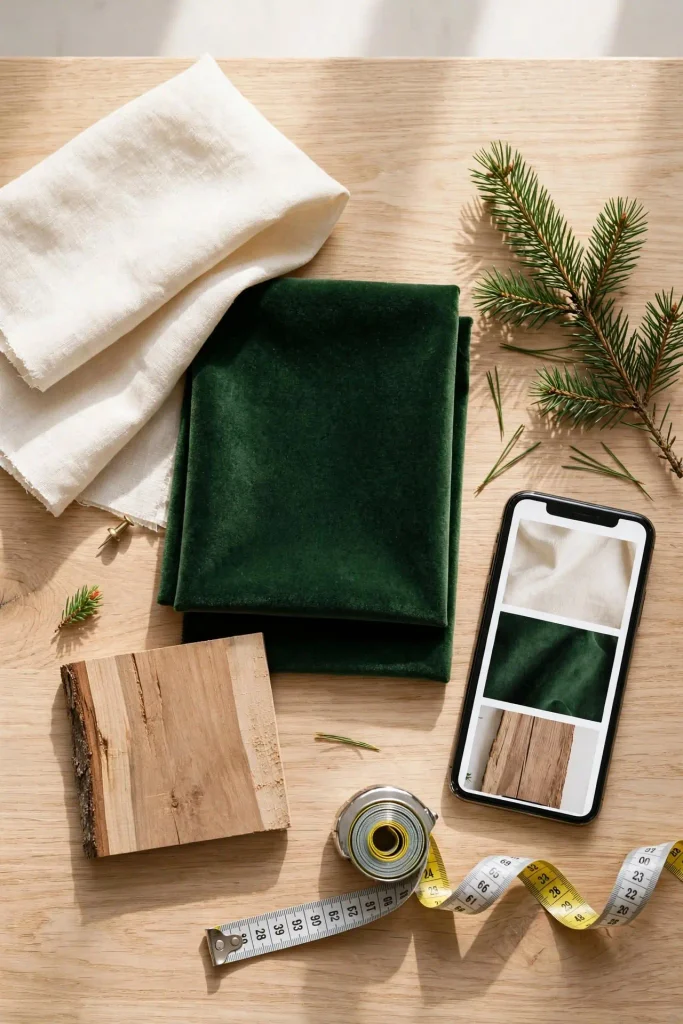
Choose two colors and one texture. Cream and deep green with raw wood is a combination that almost never fails. Pull colors that already live in your rooms rather than colors you saw in someone else’s photo. If you’re unsure where to start, a look at what’s actually working in home decor this year can help you pick a palette that suits your furniture instead of fighting it.
Pick three anchor spots. For me it’s usually the front entry, the mantel or console table, and the dining area. Everything else is secondary. Trying to decorate every corner is how rooms end up looking chaotic instead of cozy.
Shop your home first. I keep a running note on my phone with photos of textures I want to repeat and a few Xmas home decor ideas I’ve bookmarked that actually match my existing furniture, not some staged living room with a fireplace I don’t own. Then I check what I already have before buying anything. Most of the time, the list is much shorter than I expected.
The goal is intentional over abundant. A few well-placed, thoughtfully made pieces will always outshine a room stuffed with too much of everything.
1. Dried Orange Slice Garland
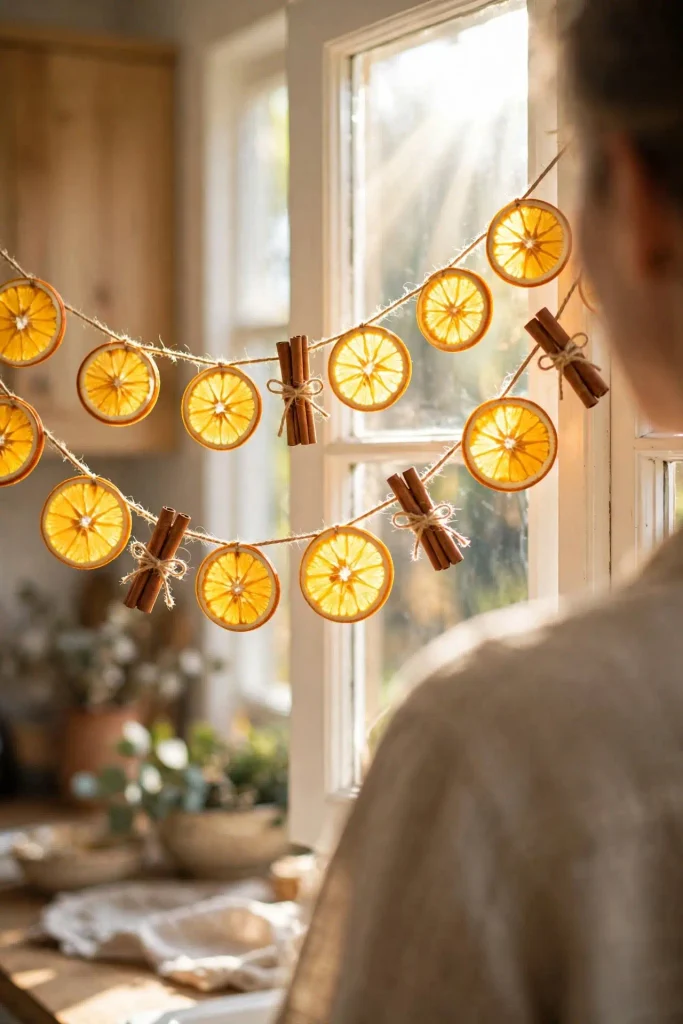
If I could only make one thing every Christmas, it would be this. It costs almost nothing, fills the whole house with a warm citrus smell while it bakes, and photographs beautifully in natural light. The warm orange also plays well with greens, creams, and wood tones, so it fits into almost any palette you choose.
What you’ll need:
- 3 to 4 navel oranges
- A sharp knife and cutting board
- Baking sheet and parchment paper
- Natural twine and a large needle
How to make it:
- Slice the oranges about 1/4 inch thick. Thinner slices dry faster and look more translucent when light passes through them.
- Pat each slice dry with a paper towel. This small step cuts the drying time noticeably.
- Lay the slices on parchment and bake at 200°F for 3 to 4 hours, flipping them every hour.
- Let them cool completely. They should feel firm and leathery, not sticky.
- Thread them onto twine with the needle, leaving 2 to 3 inches between slices.
Styling tip: Drape it loosely across a mantel or window frame rather than pulling it tight. For extra texture, tie a small cinnamon stick bundle between every third slice. Total cost is usually under $3, and the garland keeps well in a paper bag for next year.
2. Foraged Greenery Wreath
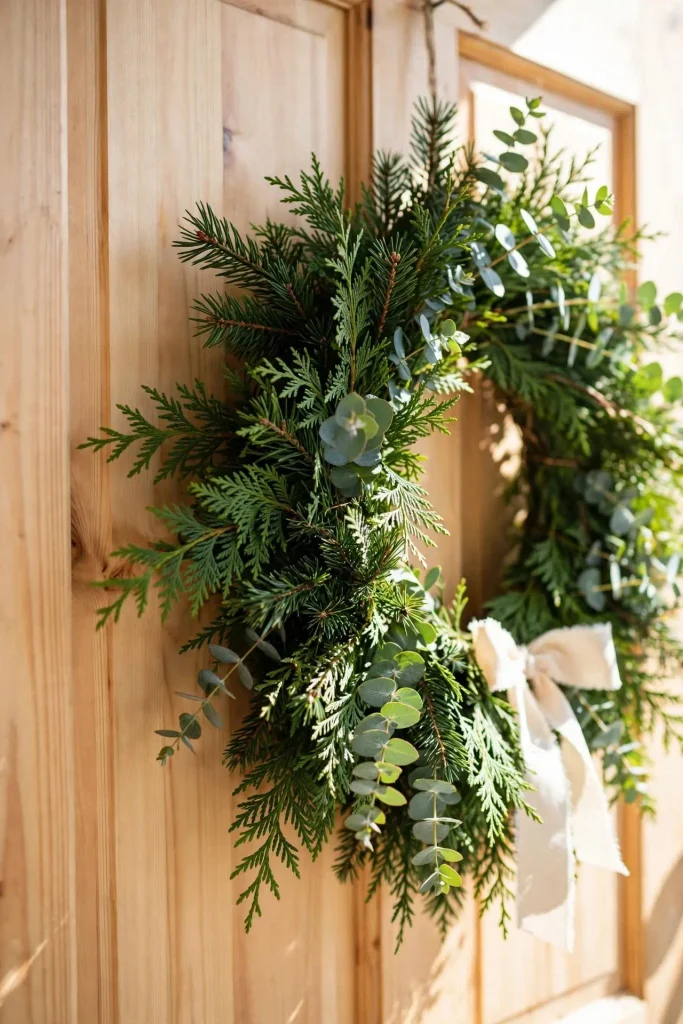
Plastic greenery is one of the fastest ways to make a room feel cheap. I found that out the year my living room ended up smelling faintly like a dollar store. Real cedar, pine, or eucalyptus looks richer, smells like the holidays, and is often free if you have a yard or a neighbor with overgrown trees.
What you’ll need:
- A wire or grapevine wreath base
- Cedar, pine, or eucalyptus clippings
- Floral wire and pruning shears
- One matte ribbon in your palette color
How to make it:
- Cut the greenery into 6 to 8 inch pieces.
- Make small bundles of 3 to 4 sprigs and wrap the stems tightly with floral wire.
- Attach each bundle to the base, all facing the same direction.
- Overlap every new bundle so it hides the wire of the one before it.
- Finish with a single loose bow, not a stiff store-bought one.
Styling tip: Keep it slightly asymmetrical, fuller on one side, for that relaxed designer look. Mist it with water every few days and it will stay fresh for two to three weeks before it starts to dry out.
3. Parchment-Wrapped Pillar Candles
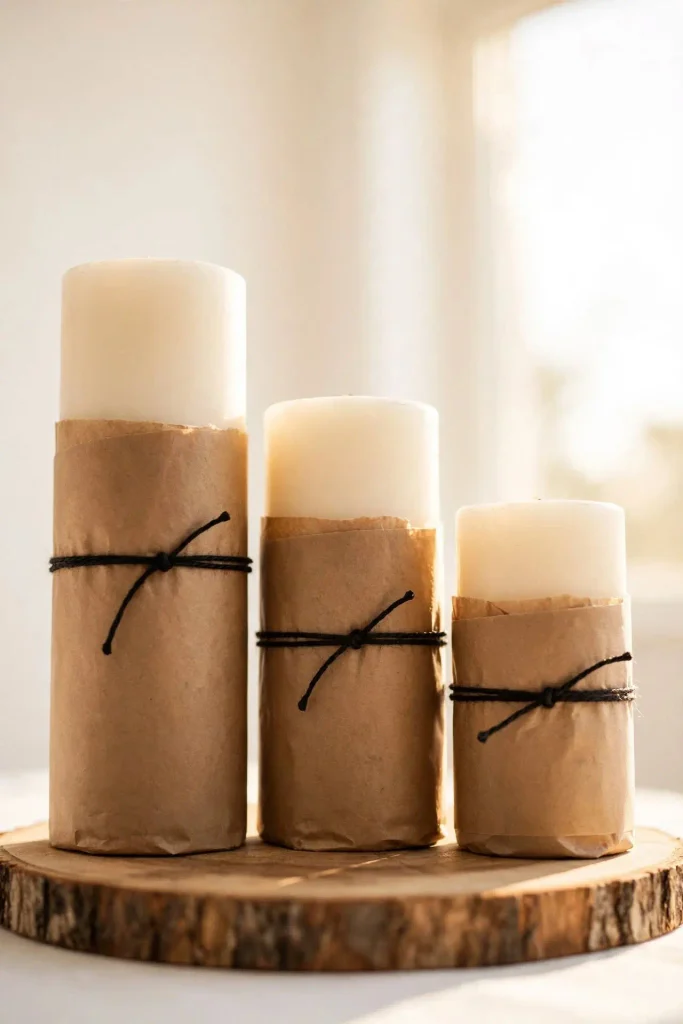
This is the project that surprises people most. It takes about ten minutes, costs almost nothing, and the finished look reads like something from a high-end home store. The secret isn’t the supplies. It’s intentional restraint: one finish, one texture, one moment to build around instead of layering everything you own onto a single shelf.
What you’ll need:
- Plain pillar candles or glass candle holders
- Brown parchment or kraft paper
- Black twine
- A wood slice or small wooden board
How to make it:
- Cut the parchment so it wraps around each candle about two-thirds of the way up.
- Wrap it snugly and secure the seam with a small piece of tape underneath.
- Tie one strand of black twine around the middle and knot it once.
- Group the candles in odd numbers on the wood slice.
Styling tip: Vary the heights so your eye moves across the group instead of stopping at a flat line. Keep the paper well below the flame, or use LED pillars to stay safe. This kind of editing is exactly what separates DIY crafts that look store-bought from the ones that feel like a third-grade art project.
4. Entryway Tray Vignette
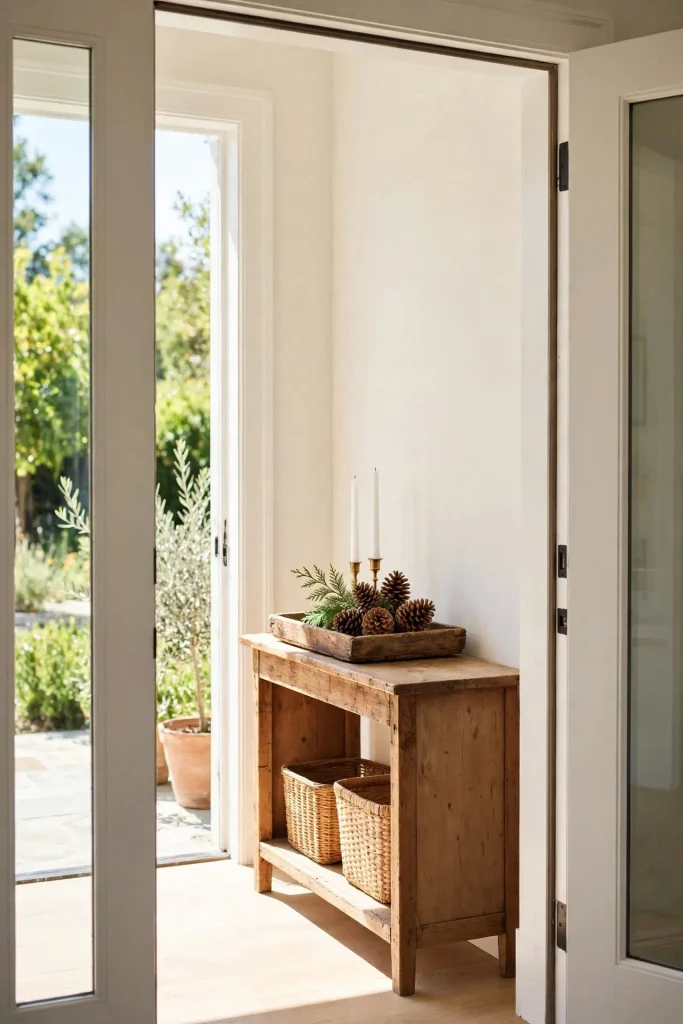
The front entryway is where I spend the most effort, full stop. It sets the tone before anyone even steps inside. One year I swapped a bare console for a styled tray using a thrifted wooden tray, pinecones collected on a walk, and two white taper candles. Total spend was under $12, and it was the piece everyone commented on.
What you’ll need:
- A thrifted wooden tray
- 5 to 7 pinecones
- Two white taper candles with holders
- One small sprig of greenery
How to make it:
- Place the tray slightly off-center on your console or entry table.
- Set the taper candles toward the back as your tallest point.
- Cluster the pinecones in the front corner rather than spreading them evenly.
- Tuck the greenery between them to connect the pieces visually.
Styling tip: Three elements, plenty of breathing room. Resist the urge to fill every inch of the tray. A styled tray works because of scale and spacing, which is the same thinking behind all the small details that make a room feel expensive the rest of the year.
5. Stamped Kraft Paper Table Runner
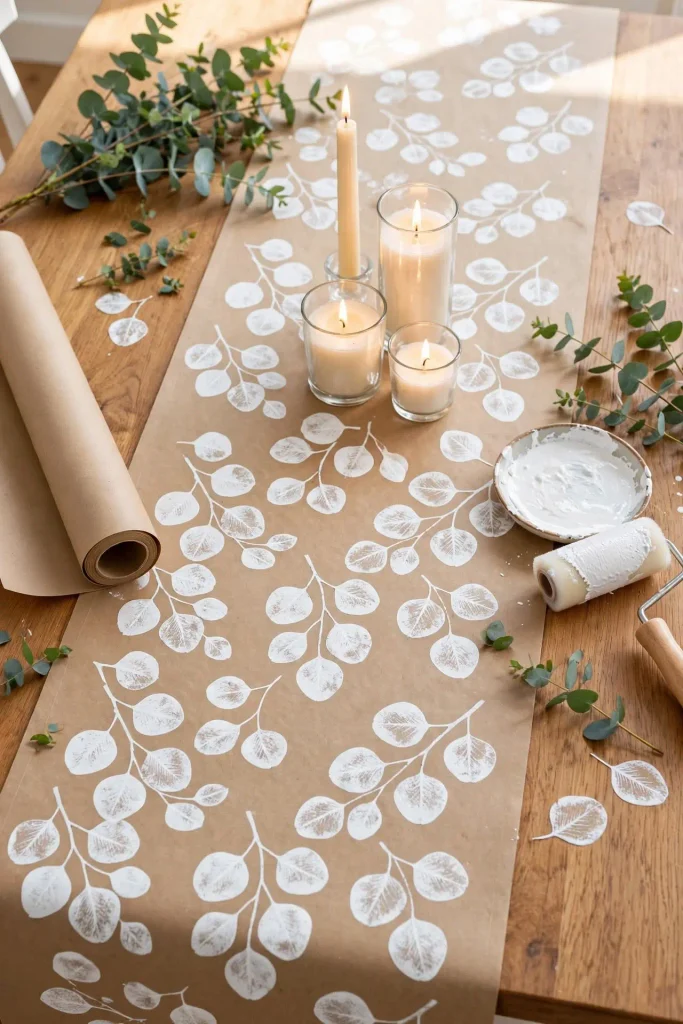
The dining table is where people tend to overdo it. A handmade runner keeps things simple, costs about $4, and gives the table a custom, organic feel without competing with the food.
What you’ll need:
- A kraft paper roll
- Fresh eucalyptus stems
- White or deep green acrylic paint
- A small foam roller or brush
How to make it:
- Cut the paper to your table length plus about 12 inches of overhang on each end.
- Roll a thin layer of paint onto the back of a eucalyptus stem, where the veins are raised.
- Press it face down onto the paper, then lift straight up without dragging.
- Repeat in a loose, scattered pattern, reapplying paint every two or three stamps.
- Let it dry for at least an hour before setting anything on it.
Styling tip: Add a cluster of candles at varying heights down the center and stop there. The tables that photograph best are almost always the least fussy ones.
6. Cinnamon Stick and Pinecone Centerpiece Bowl
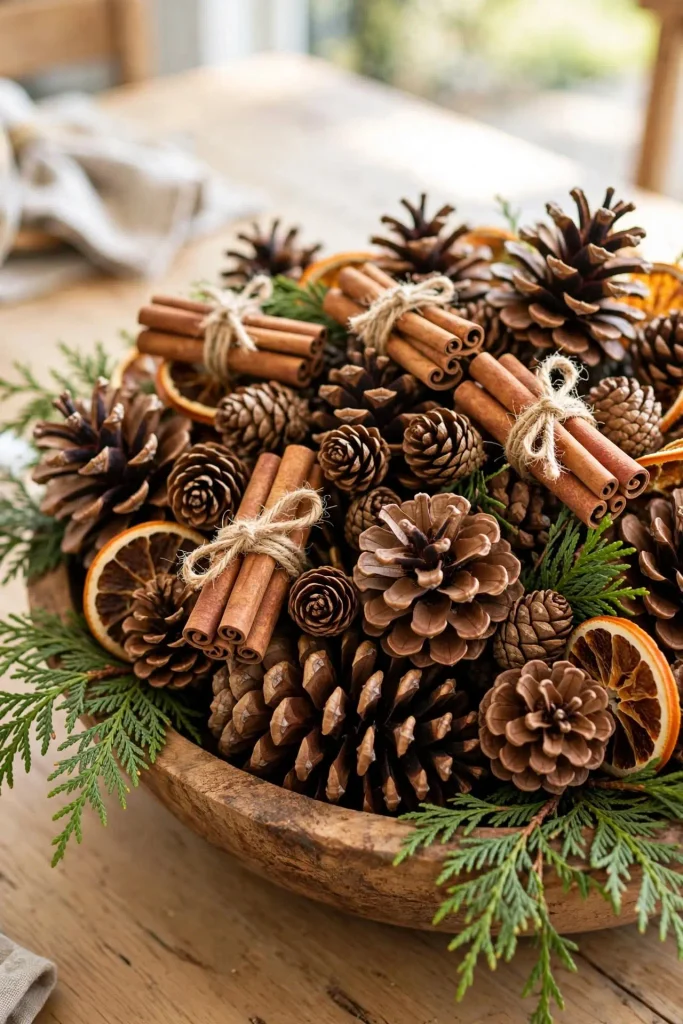
This one does exactly what a $40 store-bought centerpiece does, using things you probably already have in your pantry and your backyard. It also ties the whole room together if you reuse materials from your garland.
What you’ll need:
- A wooden or ceramic bowl, or a wire basket
- Pinecones in a few different sizes
- Cinnamon sticks and twine
- Dried orange slices from Idea 1
- A few greenery tips
How to make it:
- Fill the bottom of the bowl with your largest pinecones so the smaller pieces sit higher.
- Bundle 3 to 4 cinnamon sticks with twine and nestle the bundles between the cones.
- Tuck dried orange slices and greenery into the gaps until nothing looks arranged.
Styling tip: Put almost all of your budget into one anchor piece like this and let the rest of the house breathe with foraged branches and things you already own. The same principles behind DIY aesthetic decor on a budget translate directly into holiday styling: same restraint, same payoff.
7. Foraged Greenery in Clear Glass
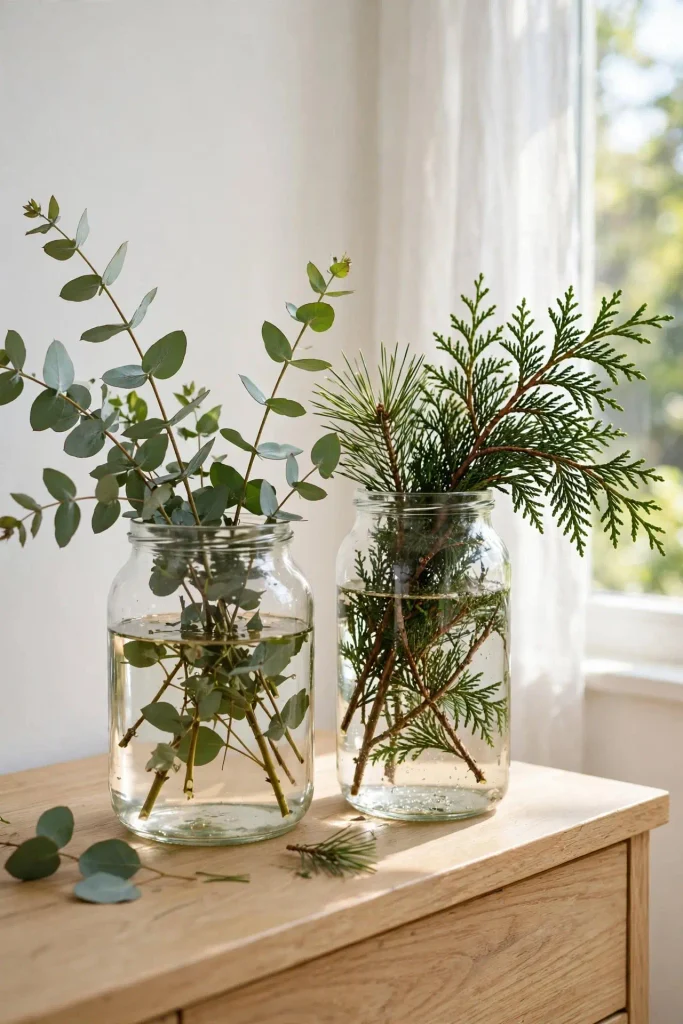
This is the easiest idea on the list and, honestly, one of the most elegant. Clear glass lets the stems show, which feels fresh and a little bit European compared to a stuffed artificial arrangement. I started treating neighborhood walks like a supply run and never went back to fake stems.
What you’ll need:
- Clear glass vases or large jars
- Cedar, pine, or eucalyptus branches
- Pruning shears and water
How to make it:
- Cut each branch at an angle so it takes in water better.
- Strip any leaves that would sit below the waterline, or the water turns cloudy fast.
- Arrange loosely, letting a few branches lean out naturally instead of forcing symmetry.
- Change the water every few days.
Styling tip: One tall vase on a console or two small jars on a shelf is plenty. Keep it low and loose, which is the same layering logic behind the best country home decor ideas. Odd numbers and organic shapes always look more natural than perfectly balanced pairs.
8. Rosemary and Twine Nightstand Bundles
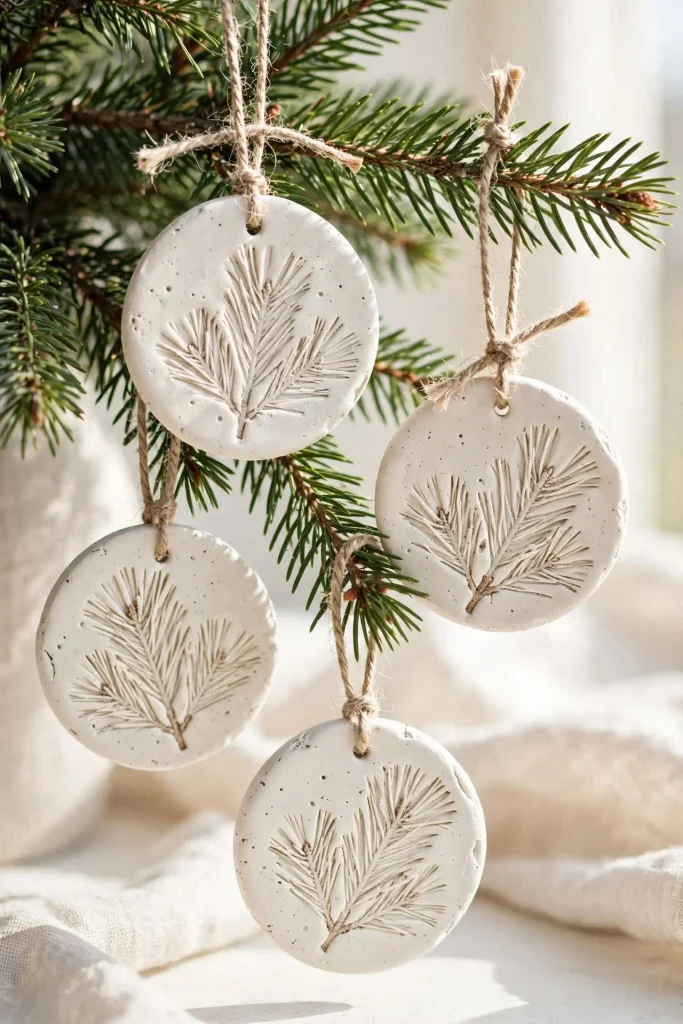
Bedrooms honestly don’t need much. One thing per nightstand is my rule, and it has never once looked bare. A small fragrant bundle makes the room feel part of the season without adding clutter to a space where you’re trying to rest.
What you’ll need:
- Fresh rosemary sprigs
- Natural twine
- A small dish or bud vase
How to make it:
- Gather 4 to 5 sprigs into a small bundle.
- Wrap the stems tightly with twine and tie a simple knot.
- Lay the bundle on a small dish or stand it upright in a bud vase.
Styling tip: One per nightstand, nothing more. Restraint reads as elegance every single time. As the rosemary dries it holds its shape and keeps its scent, so one bundle easily lasts the whole season.
9. Twig Star Wall Hanging
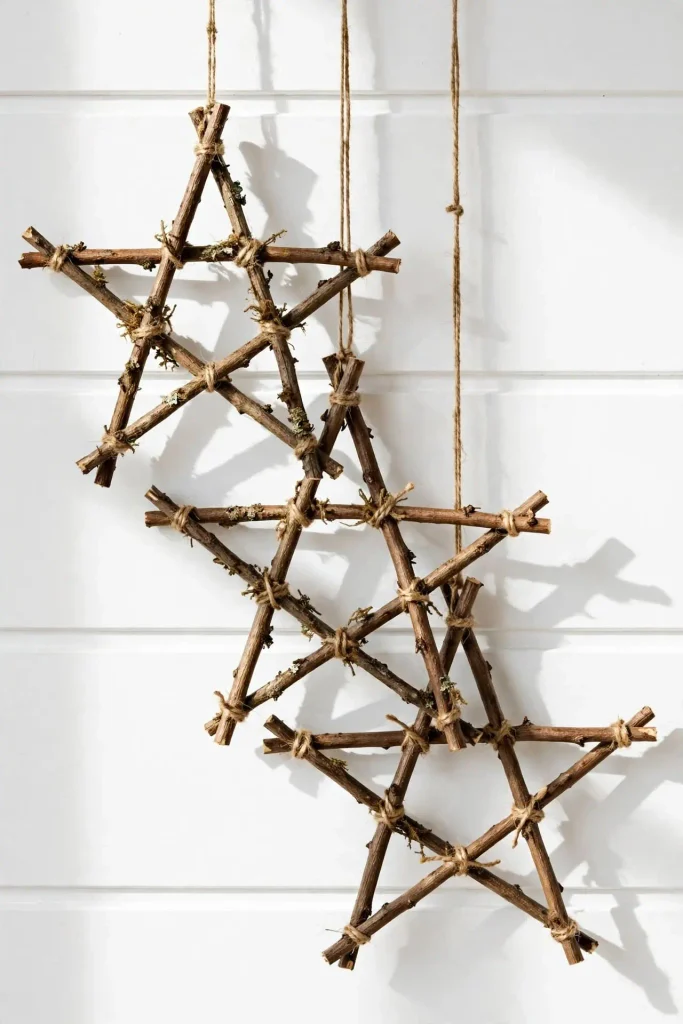
If you have a bare wall or a door that needs height, this rustic star fills the space beautifully. It costs nothing if you gather the twigs yourself, and it looks like something from a farmhouse boutique.
What you’ll need:
- 5 straight twigs of equal length, 12 to 18 inches
- Hot glue or twine
- Optional: a strand of warm white fairy lights
How to make it:
- Lay the five twigs into a star shape on a flat surface and adjust until the points look even.
- Glue or tightly tie every point where the twigs cross.
- Let it set for 15 to 20 minutes before lifting it.
- Wrap it loosely with fairy lights if you want a soft glow at night.
- Hang it with a simple loop of twine.
Styling tip: One large star has far more impact than several small ones. Hang it above a console so it lines up with your entryway vignette and the two pieces read as one intentional moment.
How to Create a Cohesive Look Across Every Project You Make
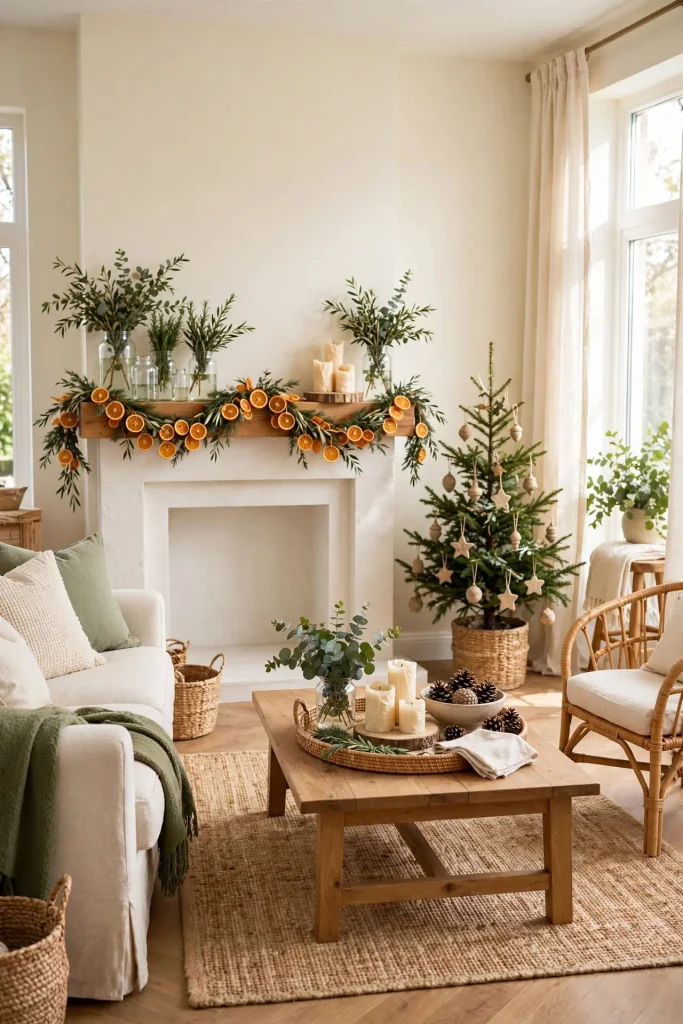
Cohesion is the part most people skip, and it’s why rooms end up looking like three different people decorated three different corners.
The fix I always come back to is simple: pick two colors and one texture, then repeat them everywhere. Not in a matchy-matchy way. Just enough that your eye moves through the space and reads one story. The December I committed to cream, deep green, and raw wood was the first time my whole house actually felt intentional.
Texture matters just as much as color. Choose one rough and one smooth, like twine against glass or linen against ceramic, and stick to that pairing across every vignette you build. And don’t forget your windows — the right curtains frame every piece you’ve just made and pull the whole room together. Then do one final walk-through before you call anything finished. Not to add more, but to take things away.
Common Mistakes That Make DIY Christmas Decorations Look Cheap
I’ve made almost every mistake on this list myself, so let me save you the frustration.
Too many focal points. If everything is decorated, nothing actually stands out. Pick one spot per room and let it do the work.
Mixing three different palettes. Pieces that looked great on their own in the store fight each other at home. Nothing fights harder than decor that was never designed to coexist.
Shiny synthetic ribbon. It dates a piece instantly. Swap it for natural twine or a single matte grosgrain and the difference is immediate.
Overcrowding the mantel or table. Five things always look like clutter. Three things look like a decision.
Mismatched scale. Tiny ornaments on a wide shelf, or a tall vase beside a short candle with nothing bridging them. Scale problems are why a vignette feels “off” even when every single piece is nice on its own.
A lot of the easy craft ideas that look effortless in photos succeed because someone edited ruthlessly, not because they added more. Edit last. Always.
Final Thoughts: The Real Secret to DIY Christmas Home Decor
Here’s what I keep coming back to after years of doing this. The homes that feel the most magical at Christmas aren’t the ones with the most stuff. They’re the ones where every single thing in the room feels like it belongs there. That’s the whole secret. Not a better glue gun. Not a bigger budget.
I learned it the hard way the year I made eleven different pieces and the room looked exhausting instead of warm. The following year I cut it down to four, committed to one palette, and people actually paused when they walked in.
You don’t need all 9 of these ideas either. Pick two or three that suit your anchor spots, make them well, and repeat the same colors and materials so the whole house tells one story. If budget has ever stopped you from starting, remember that the best foundation for DIY Christmas home decor is usually already sitting in your home, waiting to be seen differently.
Pick your three anchor spots. Choose your two colors. Gather what you already own before you buy a single thing. Then step back and take one thing away. Your home should feel like you live there, just a little more lit up this time of year.